
One thing we found attractive about our house when we bought it in 2005 was the unfinished basement, which meant we had room to grow our house as our family grew. The basement was framed for a large living area, two bedrooms, a full bathroom, and a furnace room. Fast forward to 2010: Enter Baby #2, enough savings to work with, and a contractor, and now we are on our way to a finished basement.
We’re two weeks into it. Let me tell you some things I’ve learned already about remodeling your home:
1. Things always take longer than you first think.
2. They cost more, too.
3. Suddenly you have to make a zillion decisions that would seem simple (chrome finish, or brushed nickel? dark countertops, or light? crown molding, or not?) but the more you think about them they more life-consuming they become.
4. Your house is not your own anymore.
5. Jackhammers are loud.
6. Strange men use your bathroom, and you have to clean up after them.
7. At the end of each workday you get to go downstairs and see what’s been done. It’s like unwrapping a new present every day.
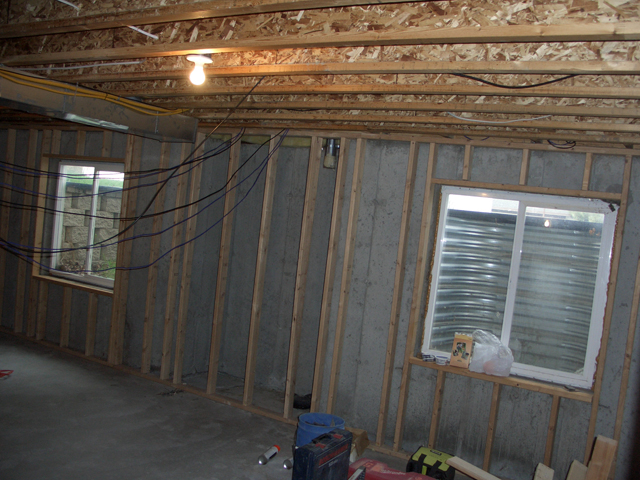
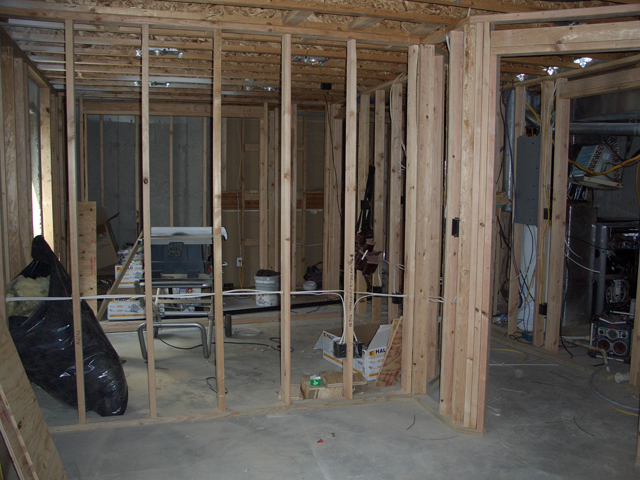
The first thing we found out was that the existing framing had to be torn out and redone. So then we had the chance to rethink the layout and change it a little. We’re still finishing a large living area with two bedrooms, a full bathroom, and a furnace room, but the hallway is now shorter and more narrow, allowing more space for the two bedrooms. The second bedroom includes a small bonus area that could be a sitting room or hobby area. The hallway had some empty, unused space at the head that we turned into a storage closet. The bathroom is maybe a little smaller than when originally framed, but there’s still enough room for a six-foot tub, toilet, and vanity.
We’re still in phase 1, which is getting the basement ready for the city’s four-way inspection. This includes framing, electrical, plumbing, and heating and air conditioning. Pretty much the least fun parts of the whole deal. And, as it happens, one of the more expensive. In addition to needing to reframe, we learned we needed to upgrade our furnace for the added space. And if you’ve ever had to buy one of these yourself, you know they’re not cheap.
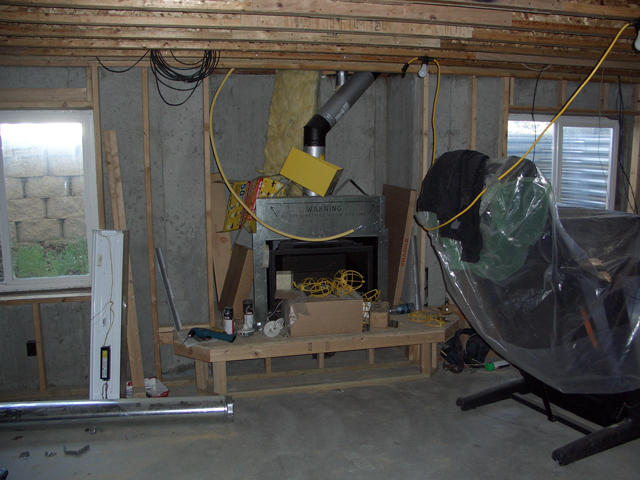
We also bought a gas fireplace. We knew we wanted one for the basement, and it has to be installed before the four-way inspection and before the sheetrock or drywall goes up. Turns out these guys aren’t cheap either.
The last thing we had to get prior to the four-way was a bathtub. But at least this I can say we got a great deal on from a local dealer who had it in stock and with free delivery.
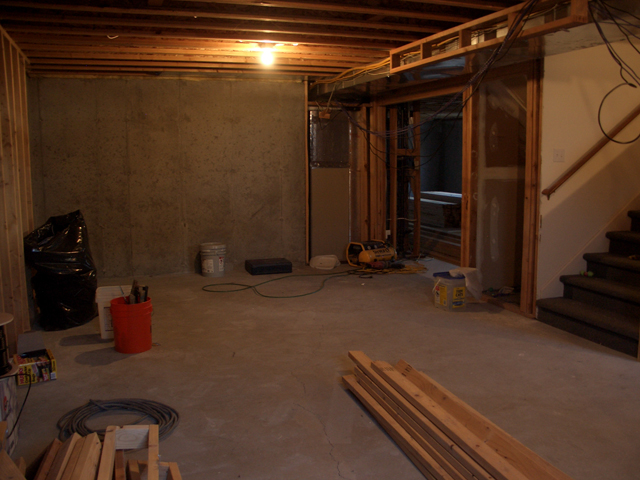
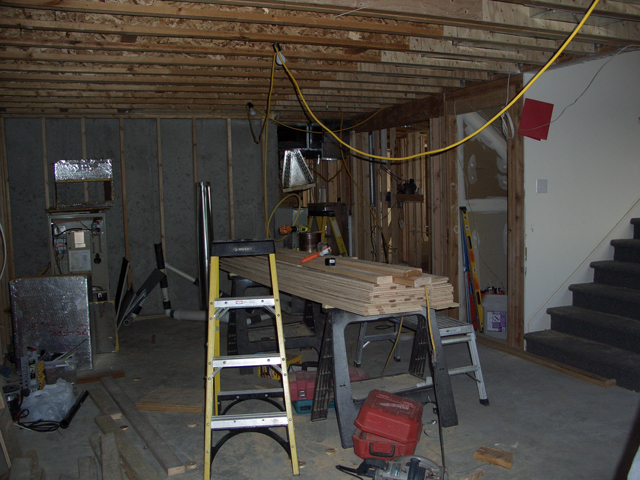
Here are some photos depicting our progression so far in phase 1.
The Fireplace
This is in the living area.
BEFORE:
NOW:
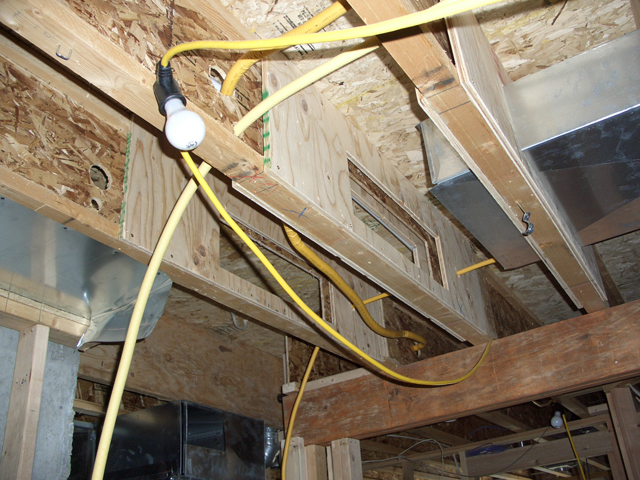
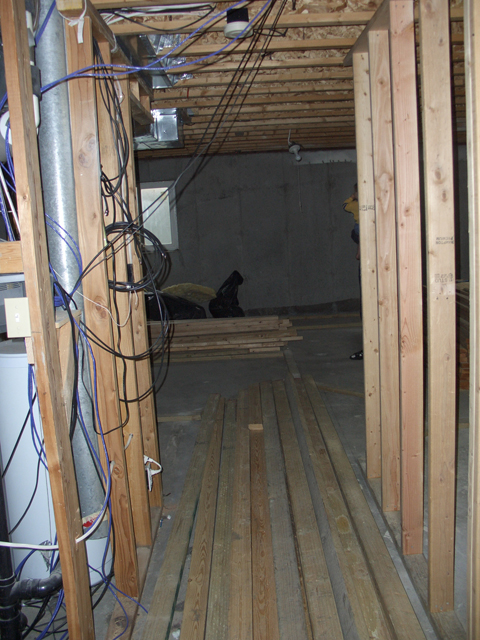
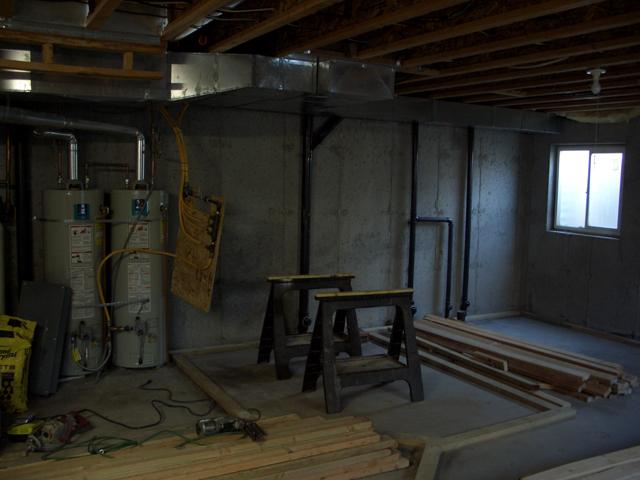
The Ductwork
We’re grateful to our contractor for his idea about this. Before, our furnace ducts were hanging low on an already low ceiling. Finishing the ceiling with them there would have meant low head clearance and a less open feel.
He called in a structural engineer who gave detailed instructions for running the ducts through the rafters. Usually this isn’t a good idea because the rafters act as supports for the floor above and cutting holes larger than a dollar bill (or so) isn’t allowed. The engineer directed the building of reinforcements for the rafters around the ducting, so now everything is kosher and we won’t hit our heads on the heating ducts.
BEFORE:
NOW:
 :
:
Here’s a better look at the reinforcements.
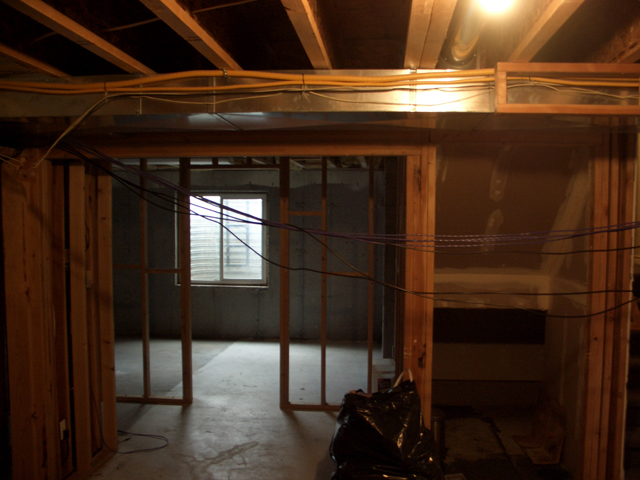
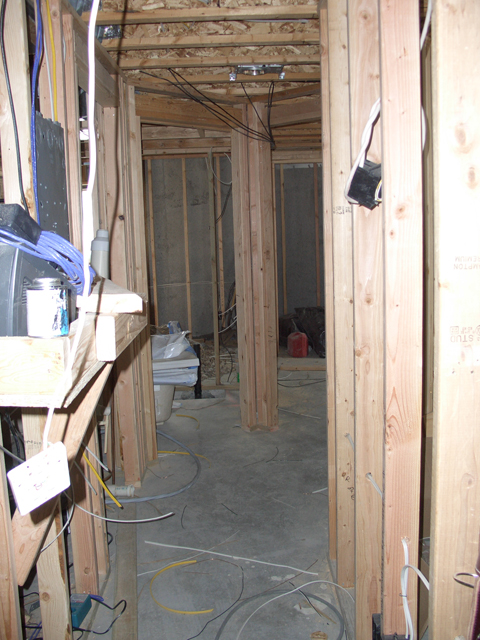
Hallway Entrance
This is the site of future french doors to close off the living area from the rooms in the back.
BEFORE:
This is the original framing of the first bedroom that was later torn down.
A LITTLE LATER:
This is the start of the new framing, which includes a new closet on the right side next to the first bedroom.
NOW:
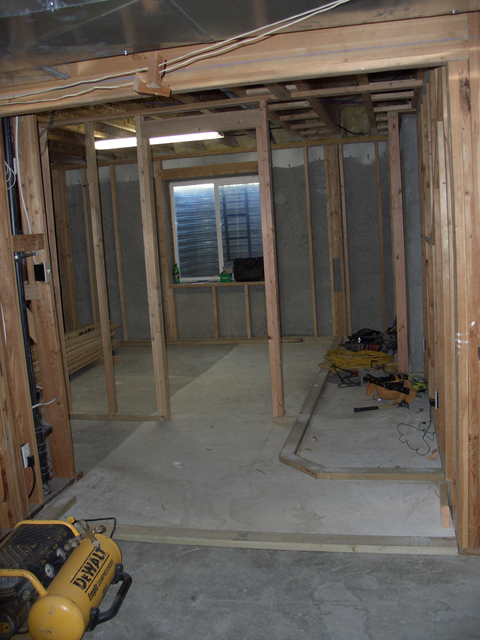
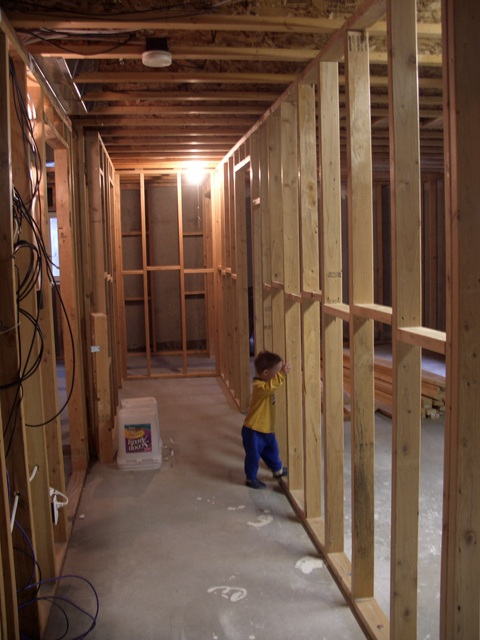
The Hallway
BEFORE:
A LITTLE LATER:
We shortened the hallway and brought it in to add space to the bedrooms. The furnace room and bathroom are to the left, the first and second bedrooms to the right and at the end.
NOW:
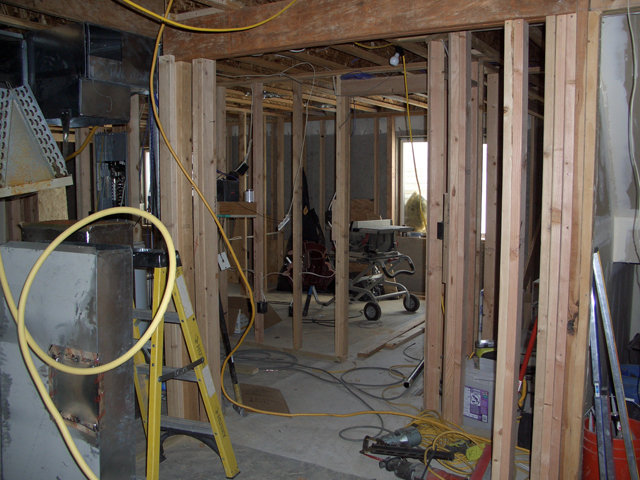
Standing in bedroom 2 and looking towards bedroom 1
BEFORE:
This is the start of the new framing.
NOW:
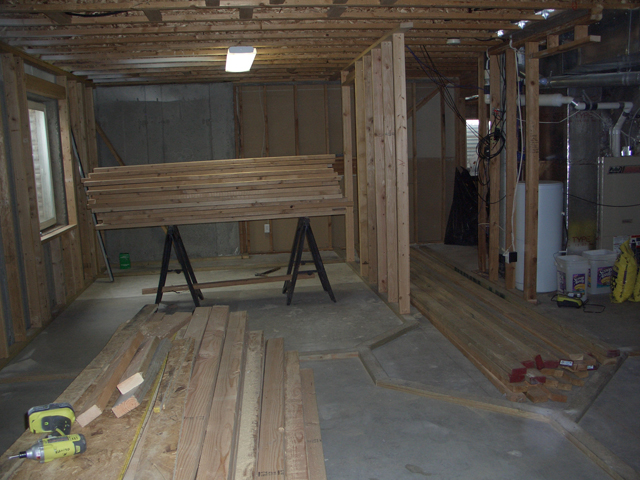
The Bathroom and Sitting Area
BEFORE:
You can see the framed outline for the new furnace room (left), bathroom (center), and sitting area that’s part of the second bedroom (right).
NOW:
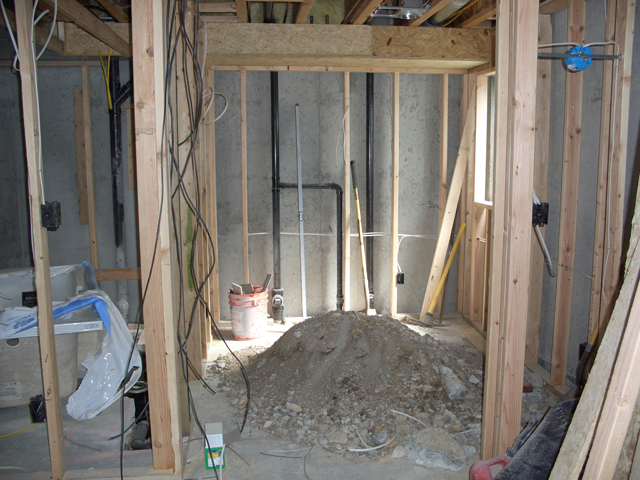
The bathroom is on the left (with new bathtub!), and the pile of dirt is in the sitting area, leftover from digging to set up the plumbing.
May 17th, 2010 at 7:55 am
wow. wowowowowowowowowowowowowowowow! Thanks for the update. I love what you’re doing…..I hope you have time to send us more peeks at the progress. Daddy is going to *love* this blog and I find the ductwork reinforcement especially interesting. Seeing the bathtub in the bathroom (so to speak) was really neat, too. It’s going to be gorgeous!
May 17th, 2010 at 8:10 pm
wow, that is GREAT! I can’t believe I haven’t been over there yet to see it. :( I guess we’ve both just been busy – so thank you for this great post! I love seeing the progress. yay!
May 21st, 2010 at 6:45 pm
So exciting! And so much space! It will be so nice when it is finished!